
Plesk Windows POP/IMAP Setup
Setting up an IMAP account in our Plesk Windows hosting services, you’ll need to use a similar configuration, depending on the node you are on. Use the following settings according to the below example: node2.hosting.ca
Your Name: The Display name you wish to show when sending email
Email Address: full-email-address@domain.com – change it to the one you setup
Account Type: IMAP
Incoming mail server: node2.hosting.ca
Outgoing mail server: node2.hosting.ca
Login Information User Name: full-email-address@domain.com – change it to the one you setup
Password: the-email-password
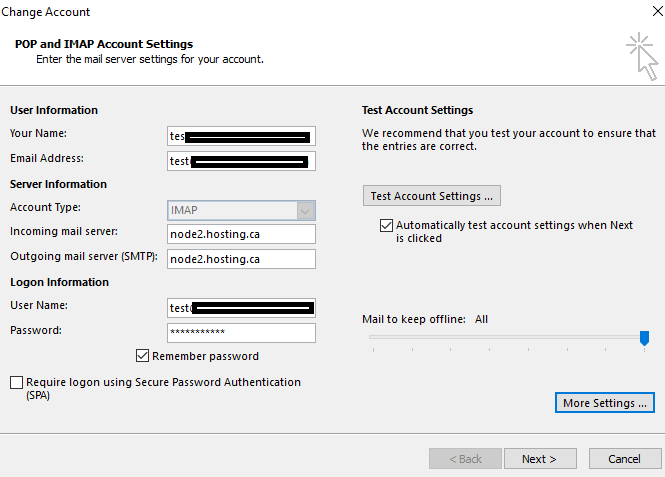
Select More Settings on the Bottom Right Corner.
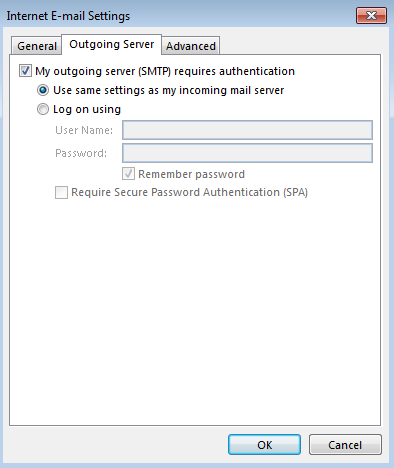
The Outgoing Server tab, make sure that the “My outgoing server (SMTP) requires authentication” is CHECKED and “Use same settings as my incoming mail server” is selected.
Switch to the advanced tab
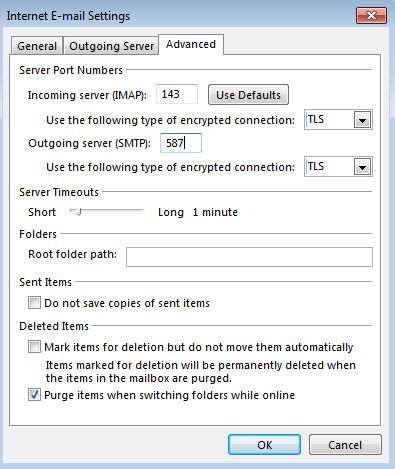
Ensure that TLS dropdown box is selected for both incoming and outgoing servers. Ensure that port 587 is entered for outgoing server, and 143 shouldn’t change. Select OK and then select NEXT and FINISH to save your configuration.