cPanel SFTP Configuration
cPanel SFTP configuration step by step. Configuring secure SFTP for cPanel accounts is very easy. Make sure you have the following pieces of information:
Host: cpanel1.hosting.ca (or the relevant server name upon signup)
User: your-ftp-user-name
Password: your-ftp-password
Encryption: Use explicit FTP over TLS if available
FileZilla was used below in this example, but other programs will have similar settings. Make sure you’re signed up with our cPanel web hosting.
Manage SSH keys
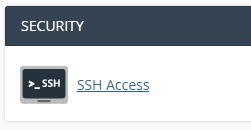
Go the “SSH Access” icon to access the SSH keys.
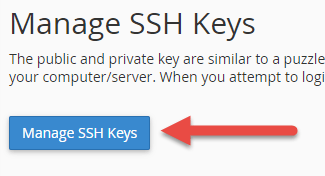
Select “Manage SSH Keys”.
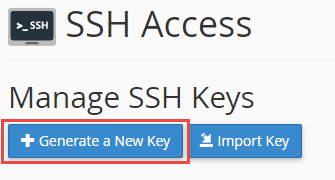
Select “Generate a New Key” when generating a new public key, you can name it anything you wish, but just remember what password you use for it. You’ll need it later.
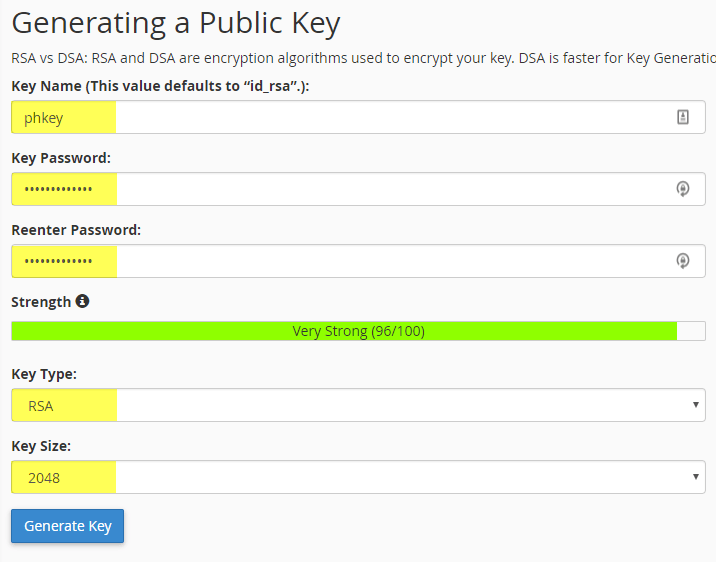
After generating the public key, you’ll need to select the MANAGE. This is where you need to authorize it.

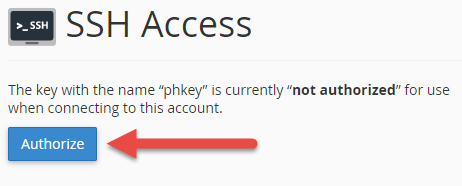
After that, please download your private key to your computer and this is the file that you will import to your FTP program.

Download your PRIVATE key, which we will use in our SFTP program.
Import Private Key to SFTP Client
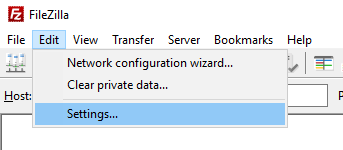
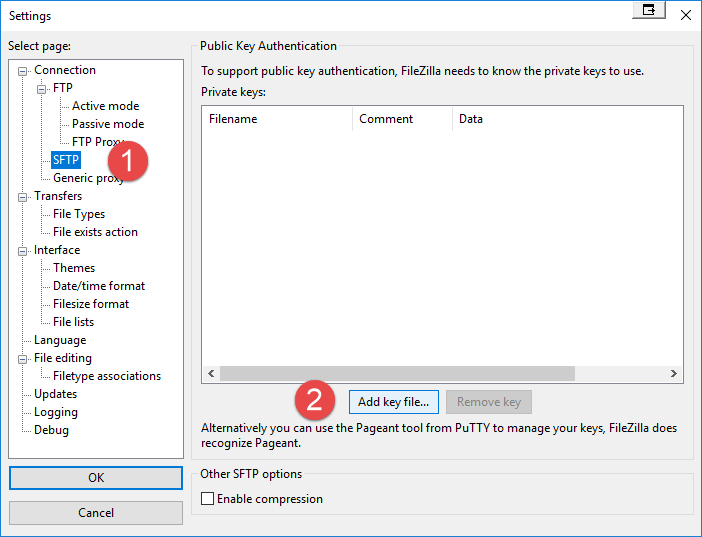
Add the key file by selecting “Add key file”.

Enter in the password you used when generating the public key.
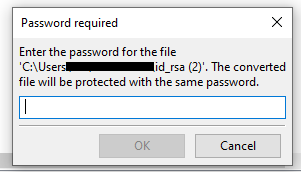
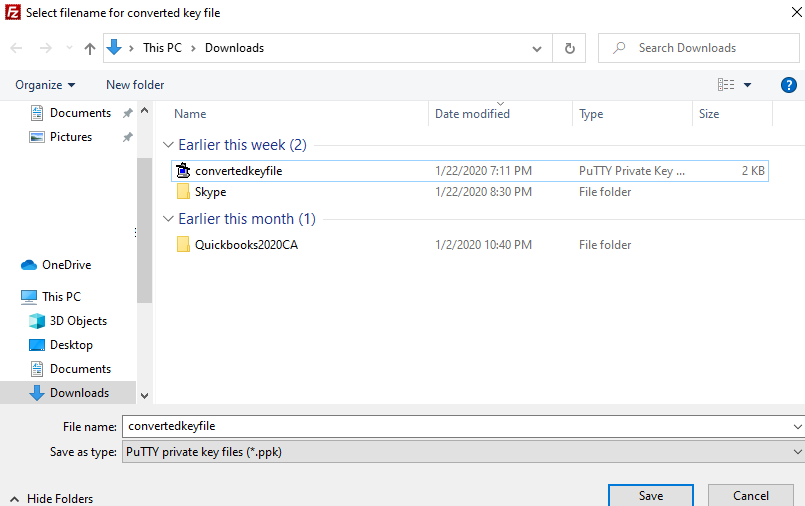
It will then ask if you want to convert the key file to a .ppk. Select yes and save the file.

Configure SFTP Site in FileZilla
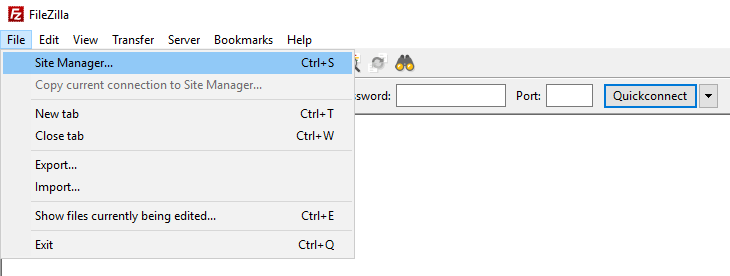
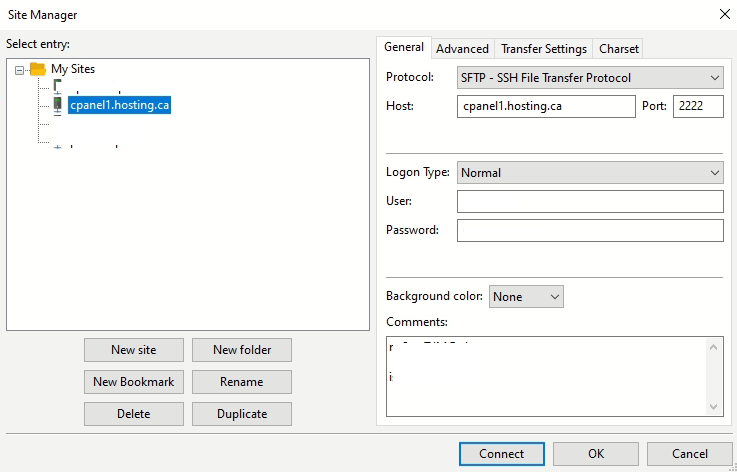
Once you enter in the information, you will be able to connect to the SFTP server. It may prompt you for the private key password when connecting. Just accept it, and continue. Make sure the port is set to 2222, and the proper hostname. Click connect to try to connect.

It will ask for the password of the key, enter it in. It will show you connected with your files on the right window, or logs will show its successful. A lock icon will be displayed on the status bar usually.

cPanel SFTP Configuration is now complete.
