How to activate an iOS device with BES UEM – Exchange 2016
Introduction:
The purpose of this documentation is to provide end users complete configuration how to activate an iOS device with our BES UEM services.
Prerequisites:
- iOS Device
- Hosted Exchange 2016 account
- Subscribed to the BES UEM addon hosting package
- Activation password
- BlackBerry UEM Client installed from the App store
Steps:
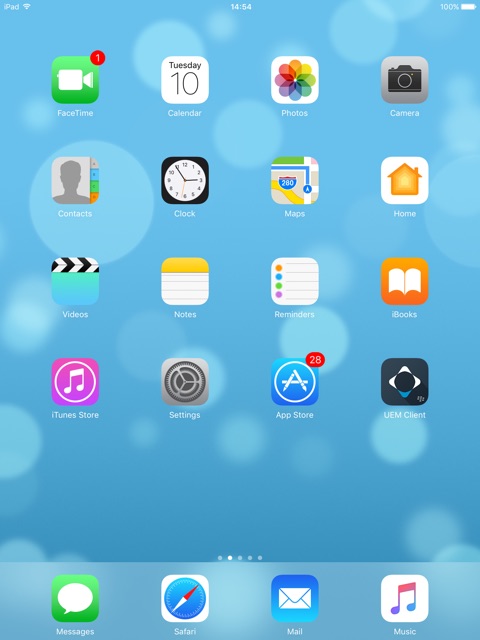
1. From the home screen, select the UEM Client app.
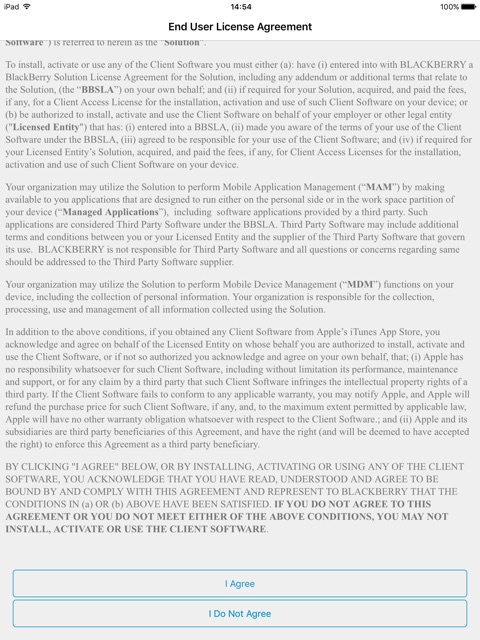
Accept the end user agreement by selecting “I Agree”.
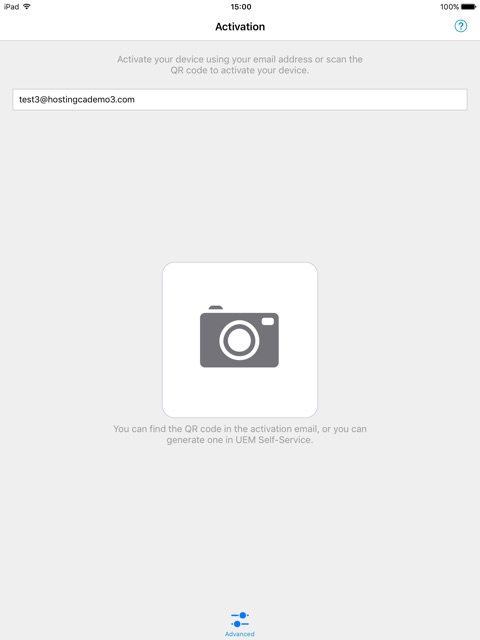
2. Enter your email address for activation.
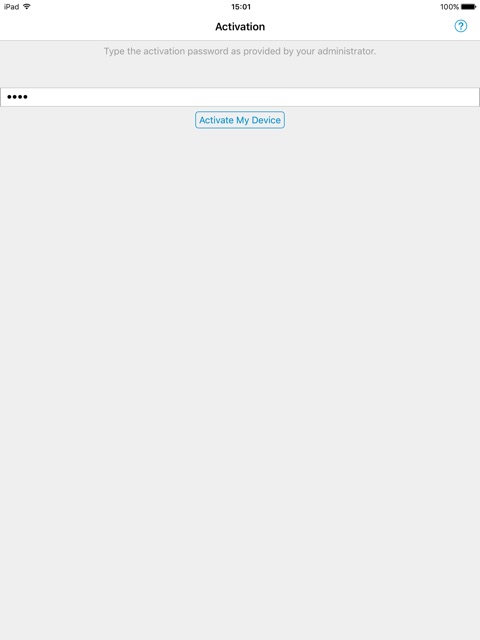
3. Type in the activation password you received from us and select “Activate my device” to proceed.
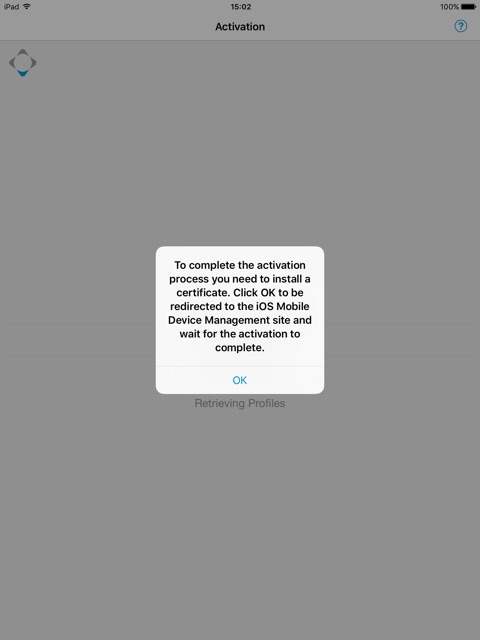
4. Activating will begin. You’ll need to choose “Allow” for the next few steps.

5. A certificate must be installed, select “OK” to continue.
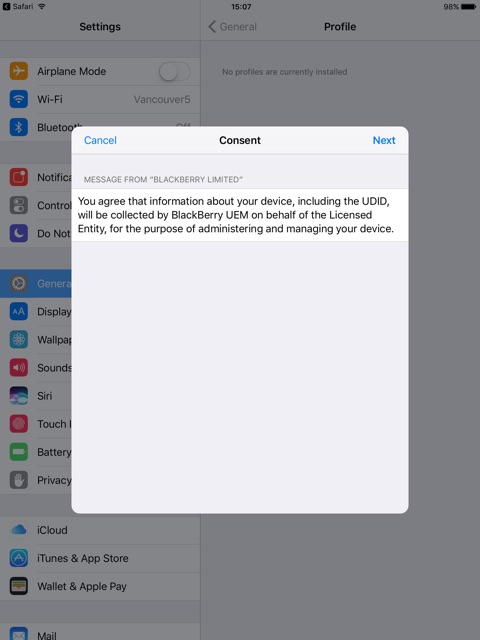
6. Select “Next” to continue to install the certificate.
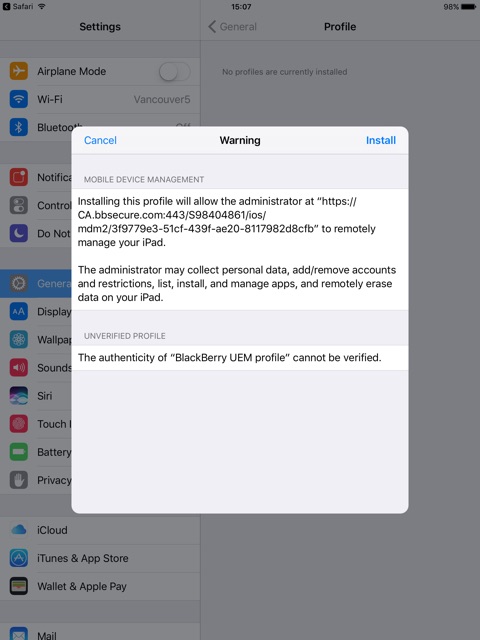
7. Select “Install” to install the certificate.
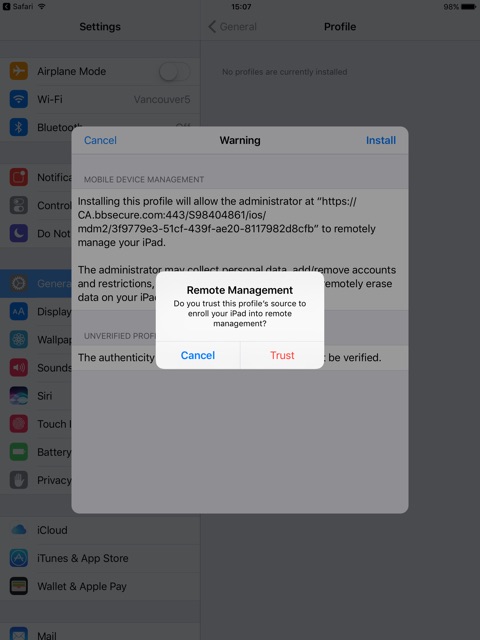
8. Select “Trust” to continue.
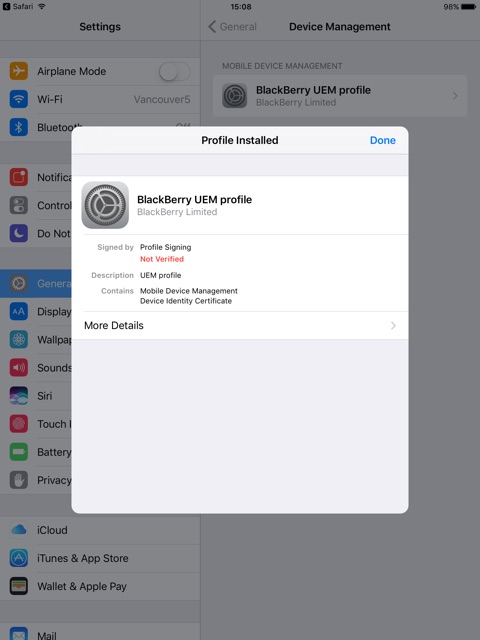
9. Select “Done” to finish up the enrollment. The device will then prompt to install some required applications after.
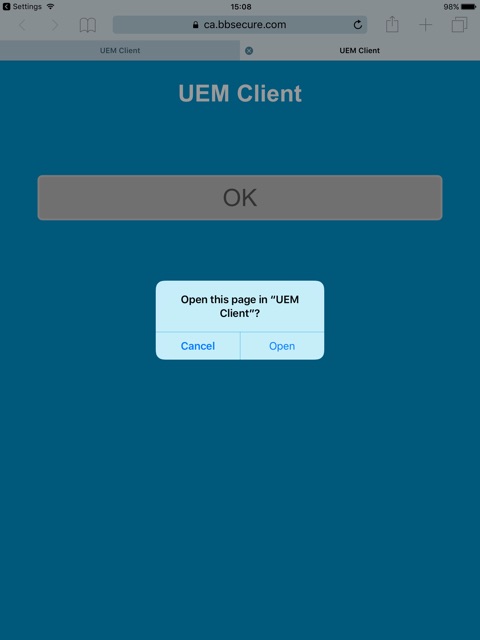
10. You will be forwarded to another page, you may select “Open”.
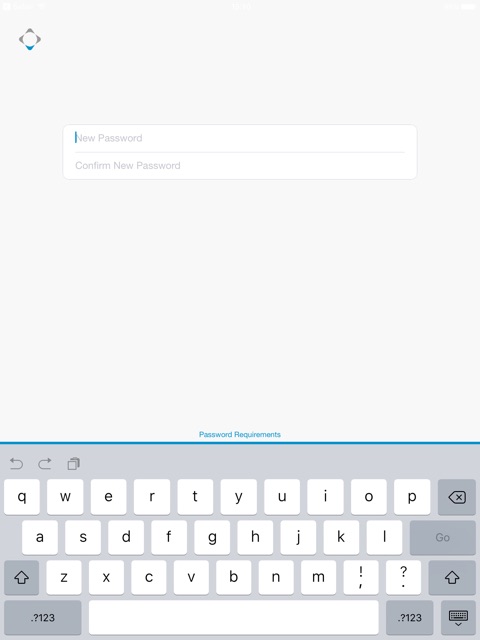
11. At some step, it will ask you to set a workspace password. You may set a password to access your work content. You may enter in a password with minimum of 4 characters.
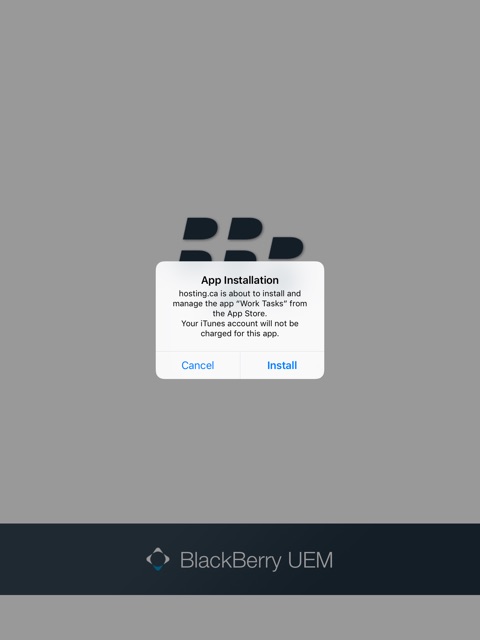
12. Applications will be installed. Select “Install” to install the “Work Tasks”, “Access” and “Work” applications.
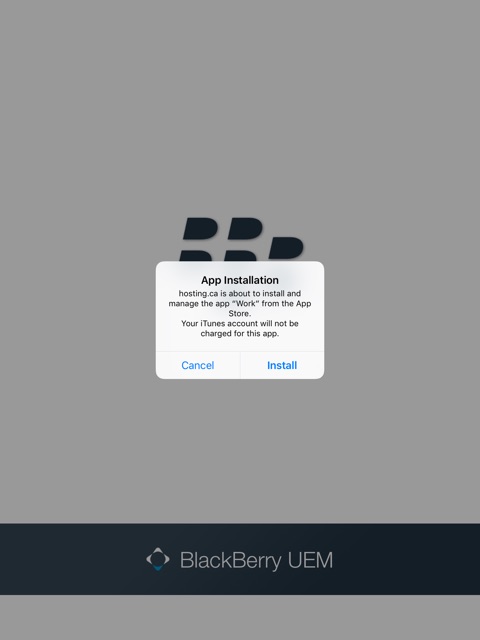
13. Select “Install” to install the “Work”App.
14. Select “Install” to install the “Access” app.

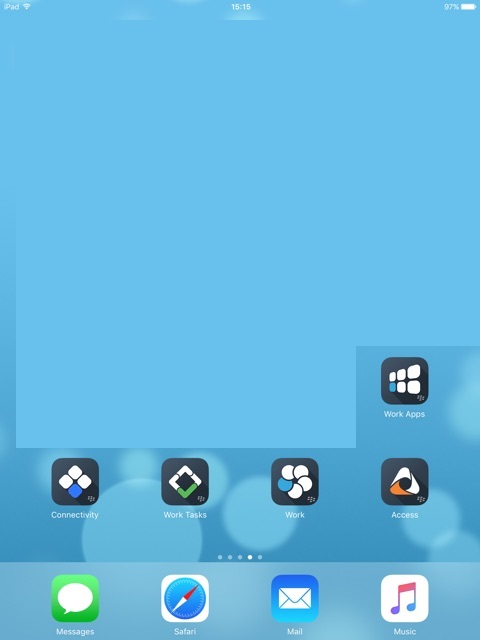
15. You’ll see that the applications will be installed on your device. Next will be loading each app to have them configured properly.
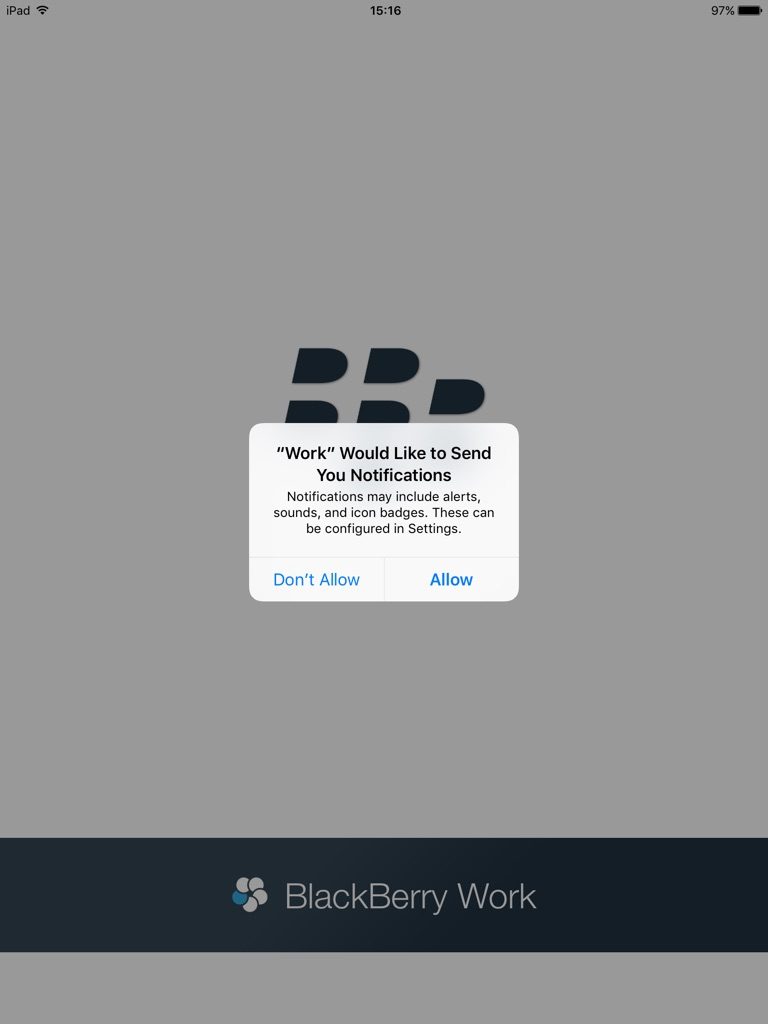
16. Work is responsible for your email, tasks, calendars, contacts. Select the Work app to load it. If it prompts you for notifications, select “Allow”.
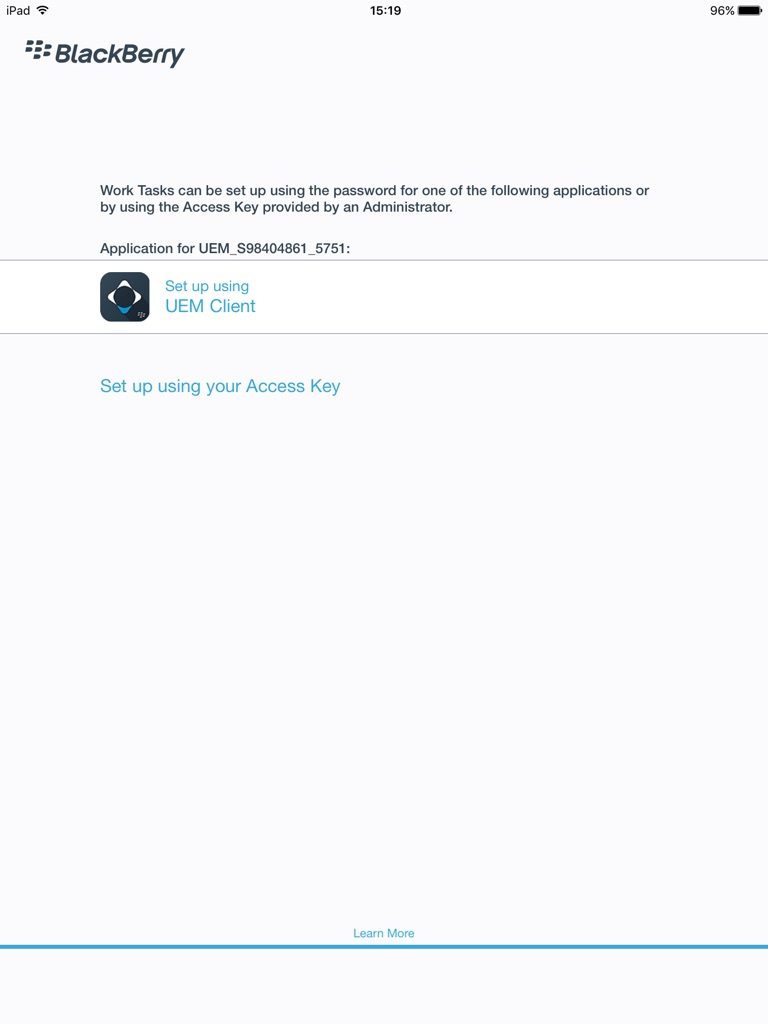
17. Select “Set up using UEM Client”.

18. Enter in your activation key that we supplied to you.

19. Agree to the terms of the software.
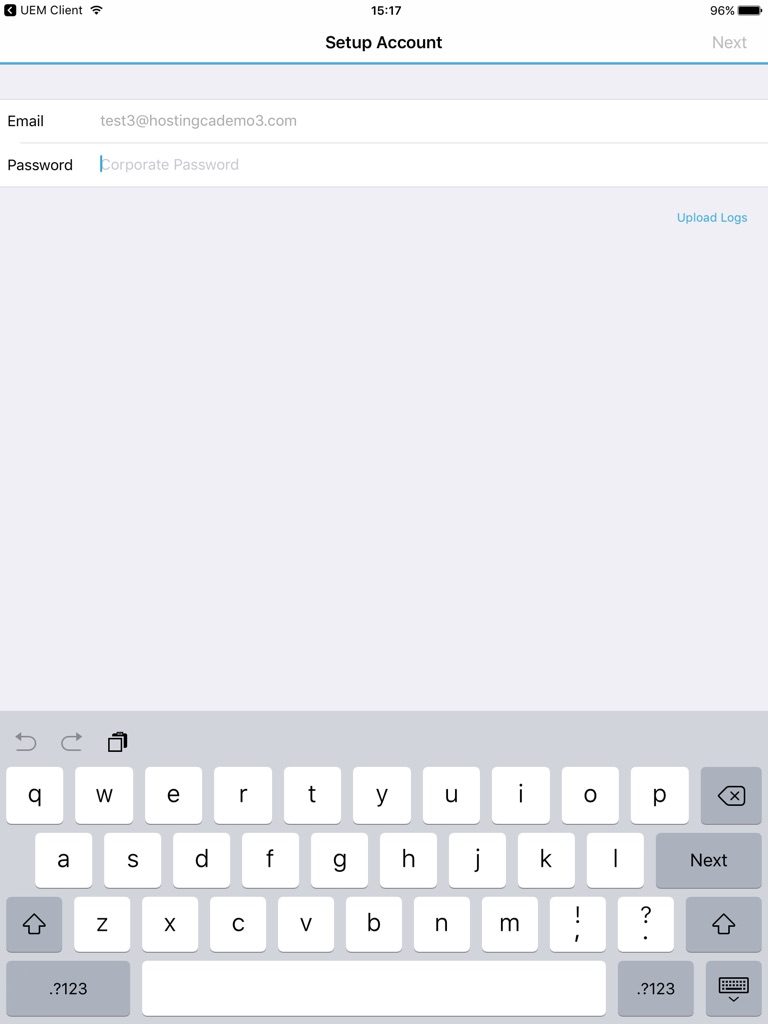
20. The server will prompt for your email password to auto configure. Please enter in your email password.
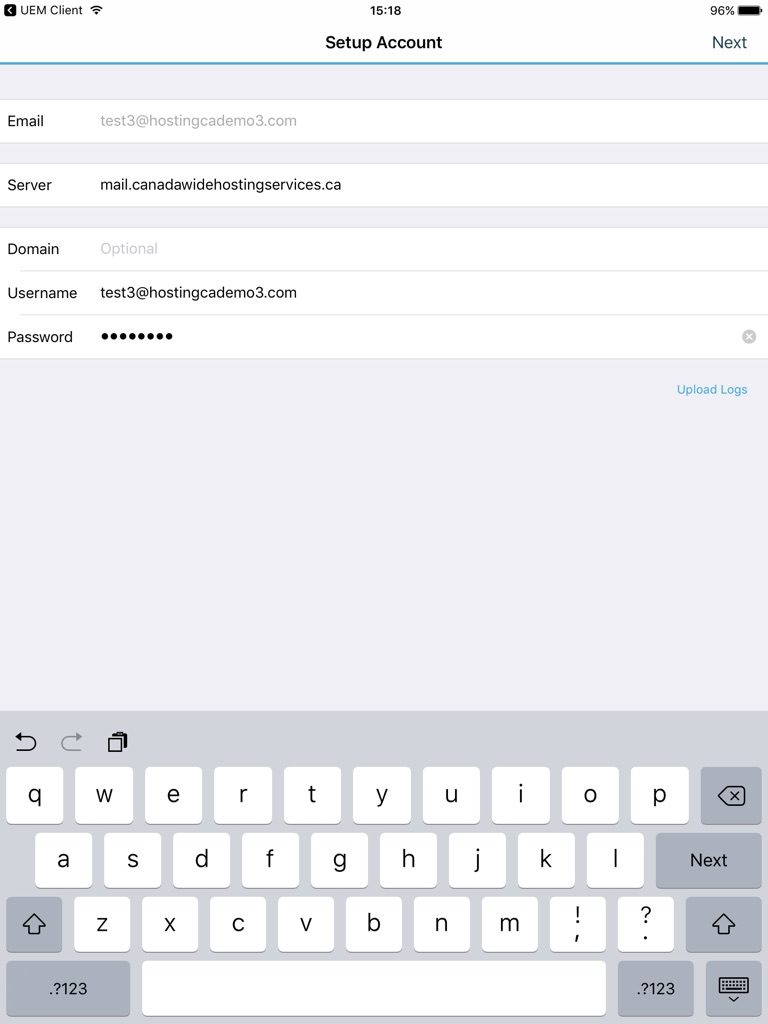
If it does not detect your settings, you may enter it manually. Ensure the server name is “mail.canadawidehostingservices.ca”, Username is is your full email address, and the correct password.
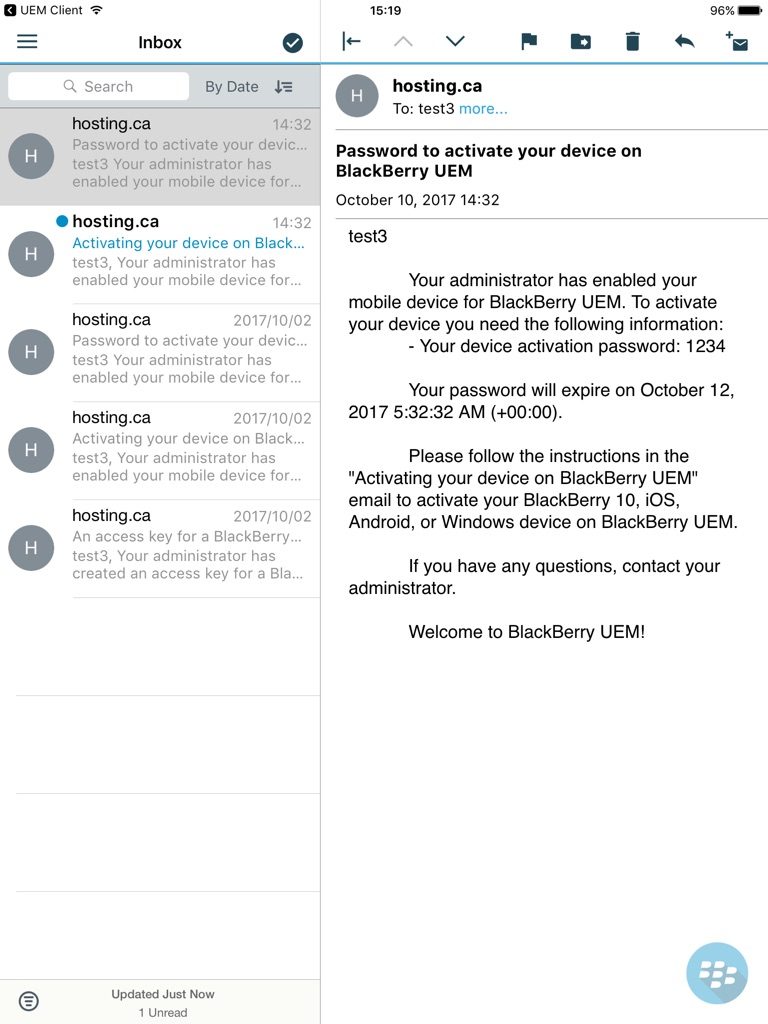
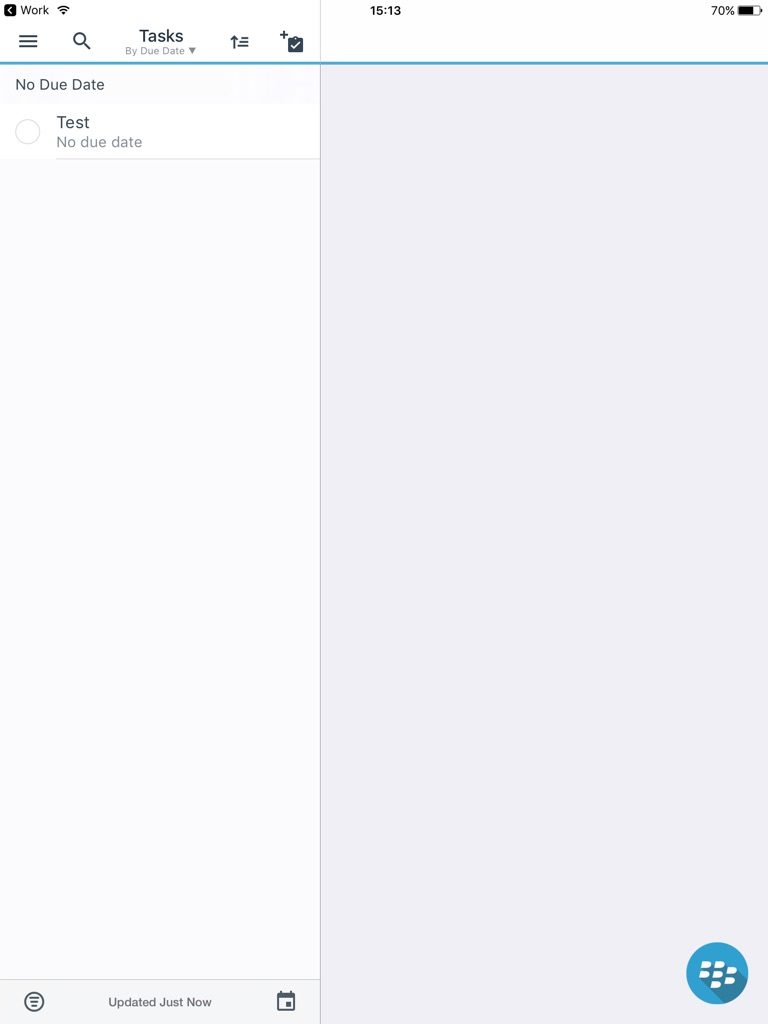
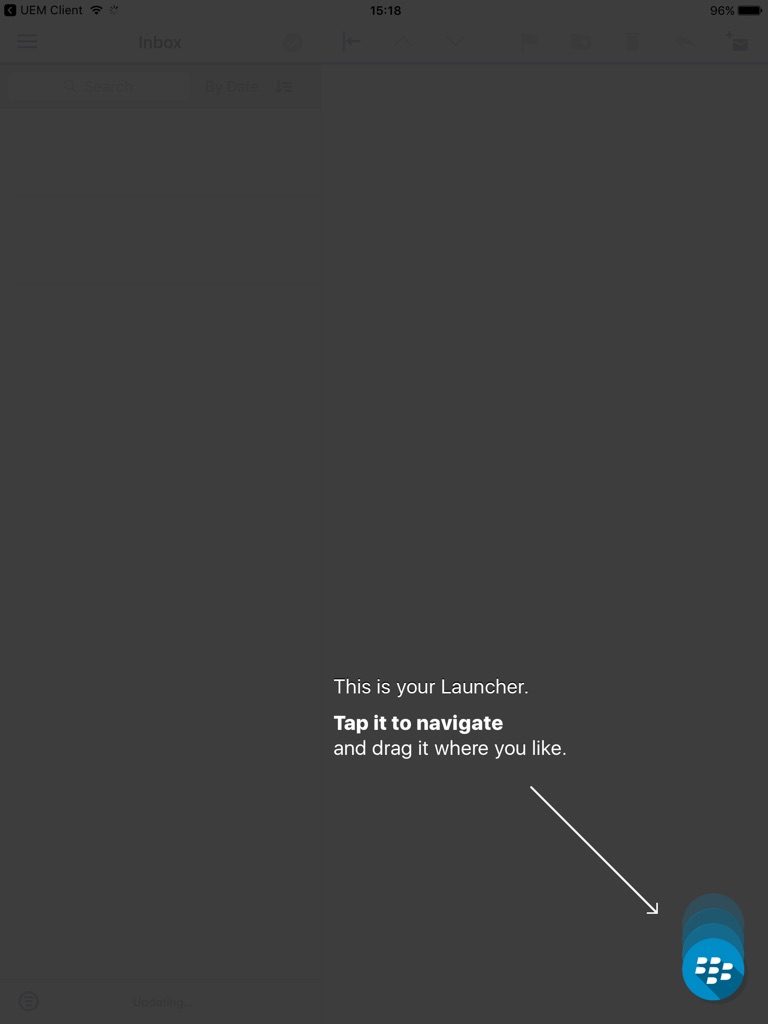
Once successful, you will see the emails sync and the BlackBerry quick launch logo on the bottom right.
21. Now choose the “Work Tasks” app. And choose “Set up using UEM Client”.
22. Enter in the activation code we provided.
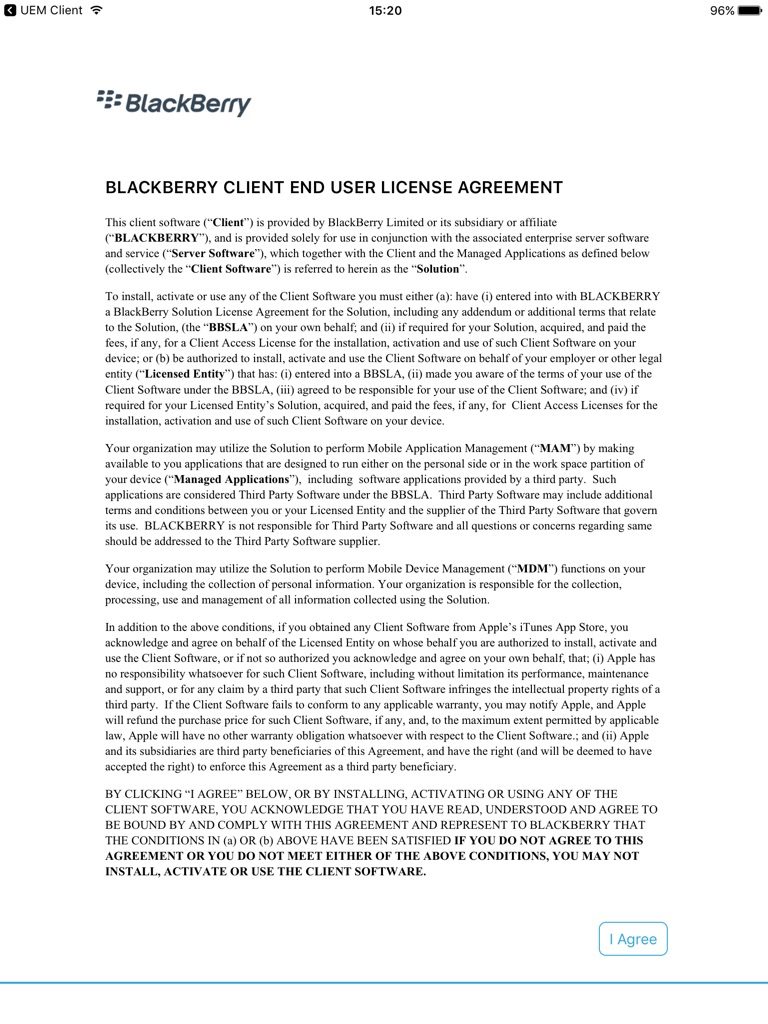
23. Select “I Agree” to accept the terms and conditions of the software.
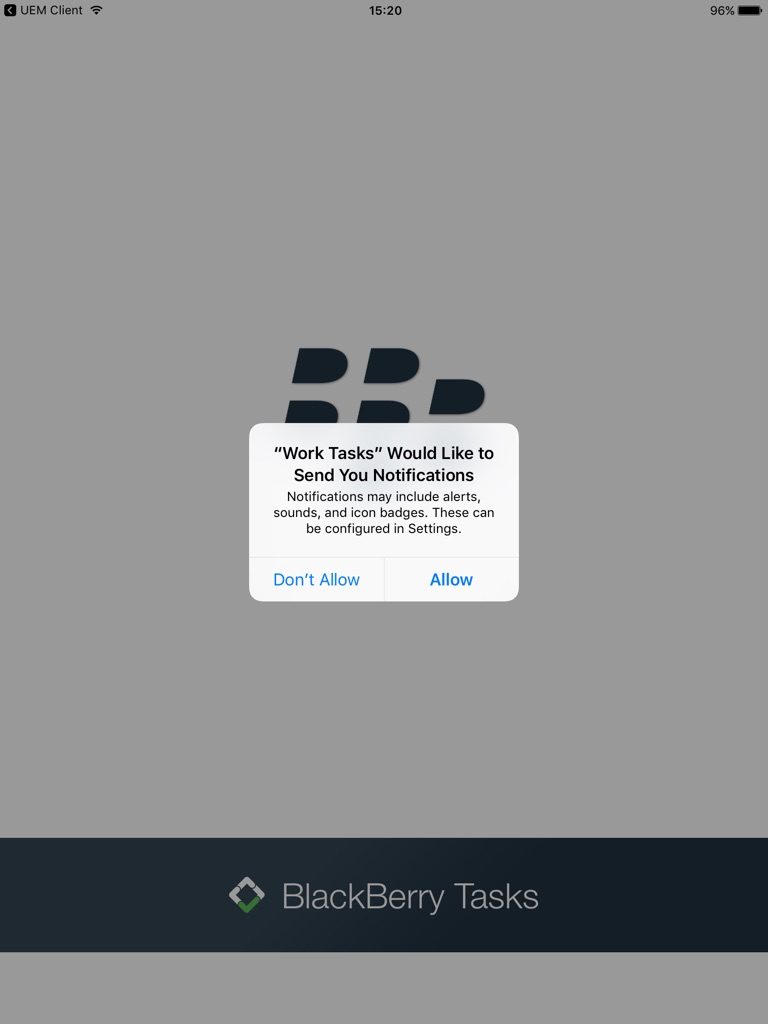
24. Select “Allow” to accept the notifications from this app.
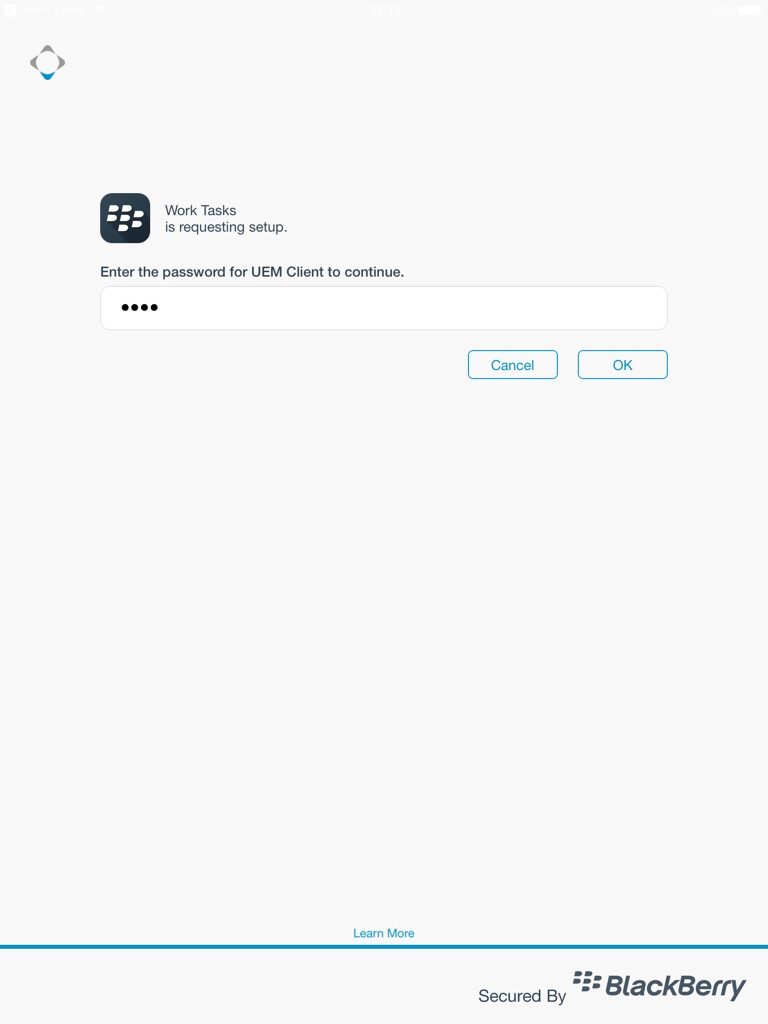
25. It will ask you to setup the account using your mailbox credentials. Enter in your mailbox password.

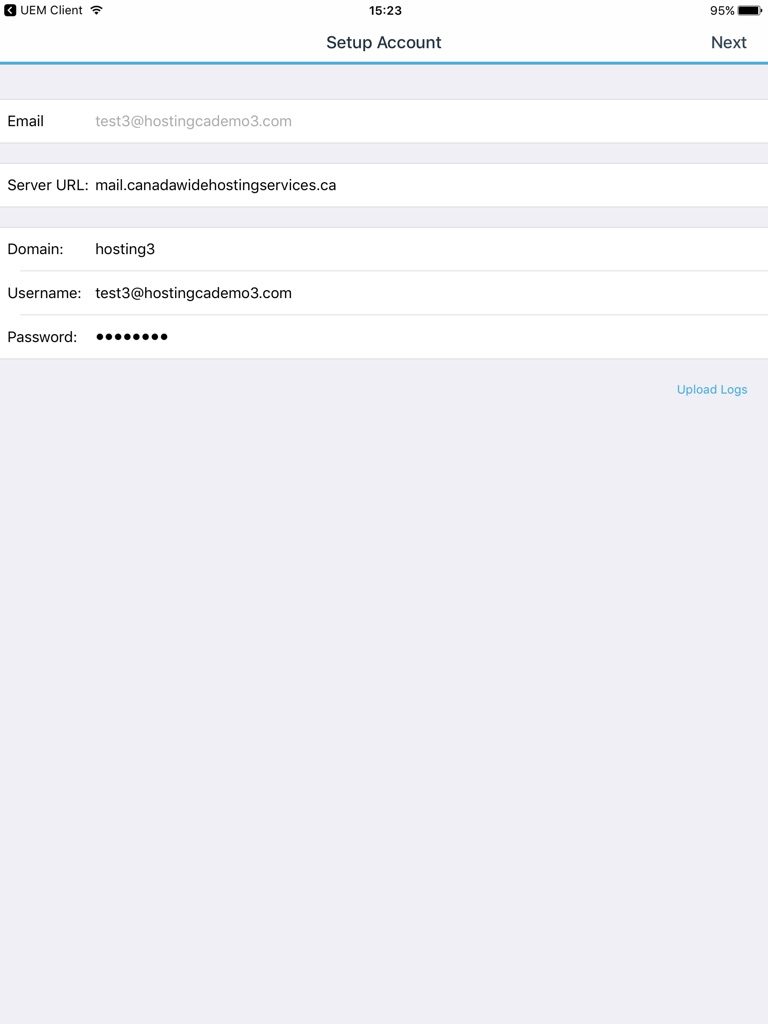
If it cannot find the server settings, you can enter them in manually. Ensure the Server URL is “mail.canadawidehostingservices.ca”, the domain is “hosting3”, and your email address and password are entered in correctly.
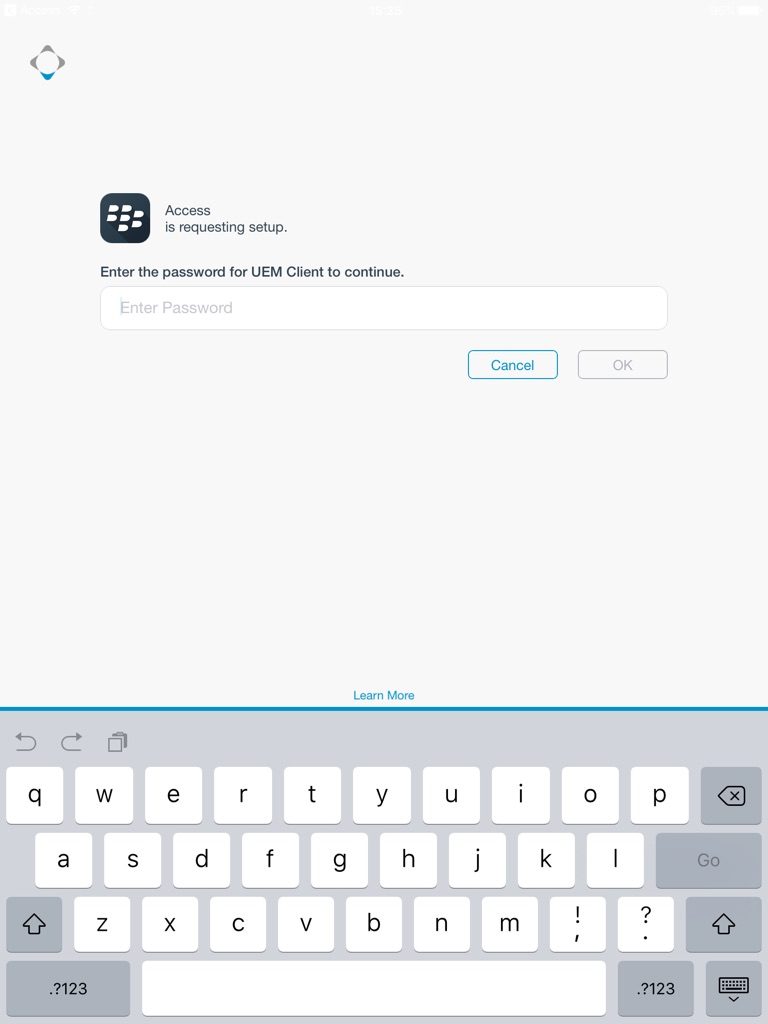
26. Now you can setup the last app. Load up the “Access” app. Choose “Set up using UEM Client”.

Enter in your activation password we provided you.
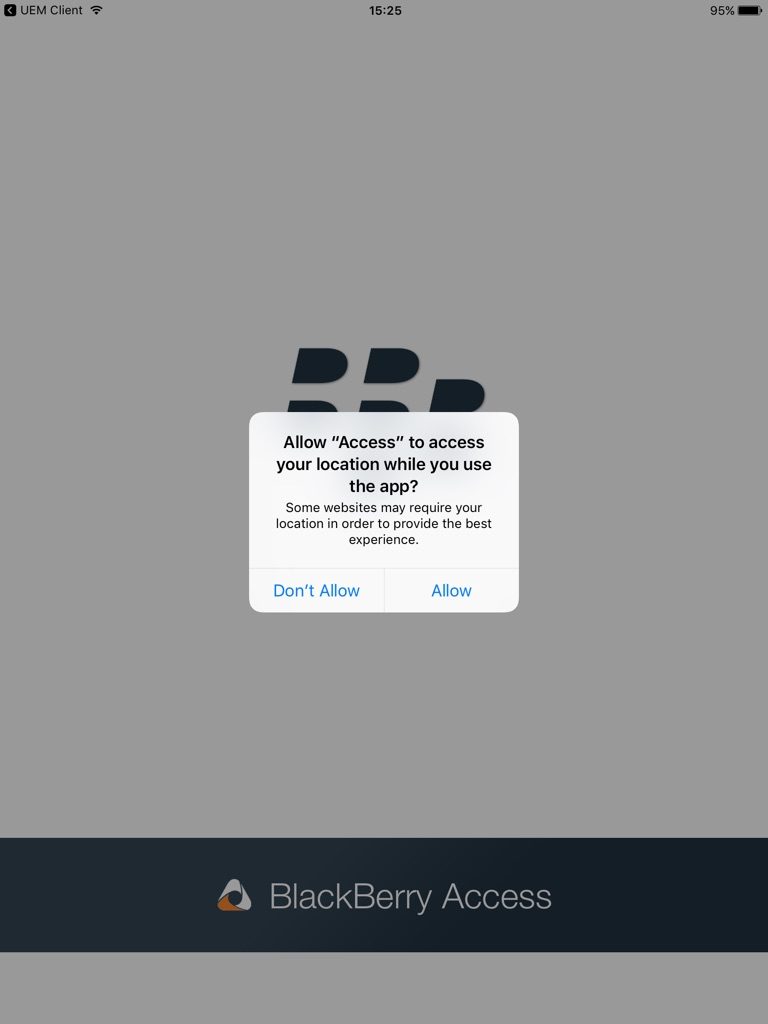
27. Accept the notifications from this application. Select “Allow”.
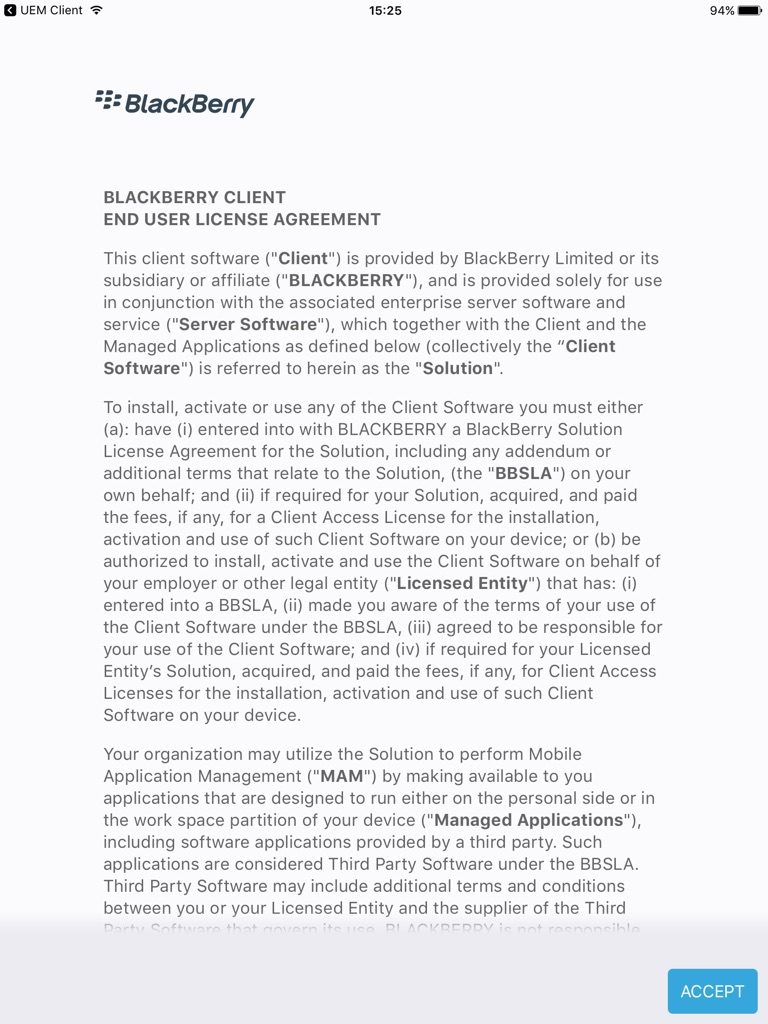
28. Accept the terms and conditions of the application. No verification is needed.
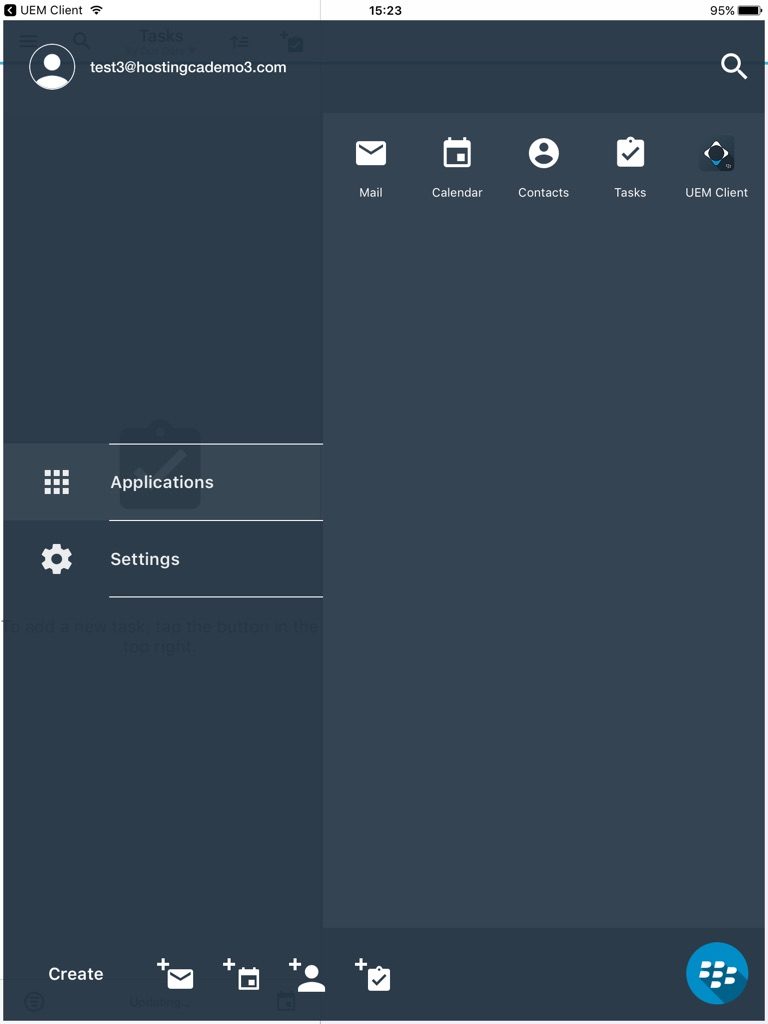
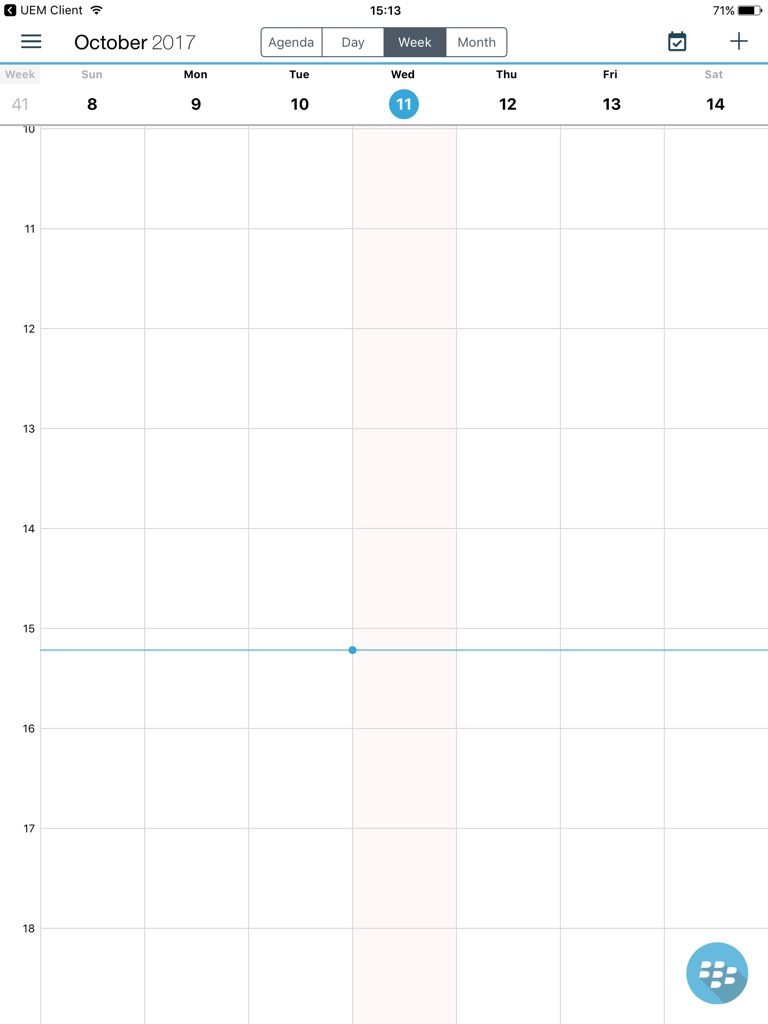
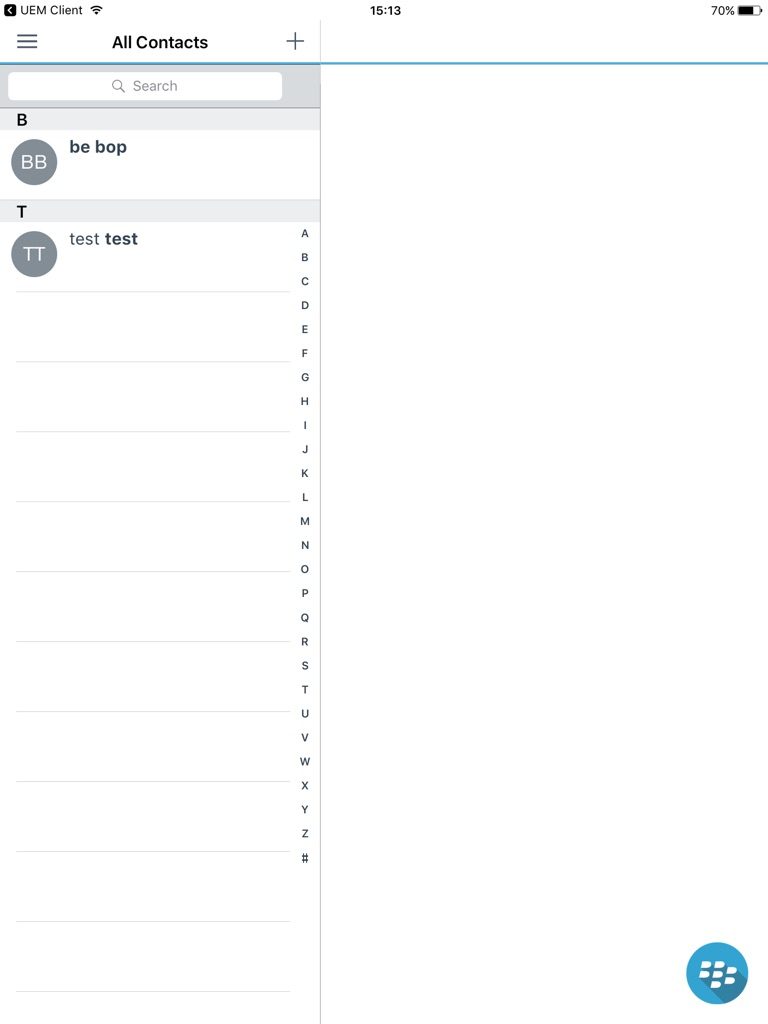
Your iOS device is now activated with the proper applications installed. Here are some sample screen shots of it in action.