Setting up CardDAV and CalDAV on iOS
As synchronizing is becoming more of the norm, more platforms are supporting syncing of contacts and calendars on iOS and Android platforms. In this help document, we will show you on how its possible in setting up carddav and caldav on iOS platforms. This basically allows users to sync their contacts and sync their calendars to their mobile devices seamlessly without a Microsoft hosted exchange account.
CalDAV CardDAV iOS Setup
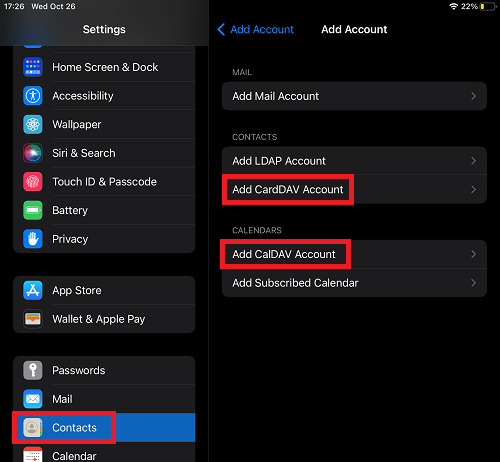
Step 1 – Goto the settings and then contacts. Then select either “Add CardDAV Account” or “Add CalDAV Account”. They will be the exact same settings so you can repeat the process to add the others.
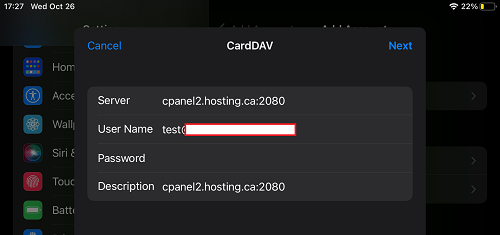
Step 2. Enter in the server settings. The server name will be whatever server you are hosted on. But the most common thing will be that you NEED to use the port number after the server name. In this example the server name is: cpanel2.hosting.ca:2080.
Your user name will be your email address with domain name. For example: test@user.com
The password will be the email password you use to login to webmail or using for email access.
The description will automatically fill in, you can change it to anything you like.
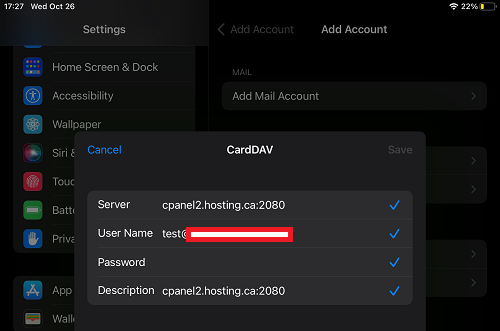
Step 3. Click next to verify the login details. And this will be the last step.
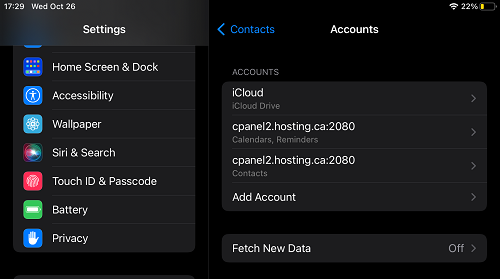
After you will see the items be added on your contacts or calendars.